Juniper - OSPF Configuration Part - III
이제 본격적인 OSPF설정!!
(계속 늘어지네요 ㅋㅋ 저질체력 ㅠㅠ)
Part - III에서는 이제 아래 그림에 있는 세세한? 설정들을 해볼까 합니다
파이팅!! ㅋㅋㅋ

1. Area 0
Network type Broadcast
http://www.juniper.net/documentation/en_US/junos12.2/topics/topic-map/ospf-configuring-interfaces.html#jd0e220
DR/BDR election
http://www.juniper.net/documentation/en_US/junos12.2/topics/topic-map/ospf-router-designated-router.html#jd0e386

일단 Broadcast (LAN)은 default이다. 고로 여기서는 별다른 설정을 안 해도 된다.
이제 DR/BDR 선정 :)
.
.
.
.
.
생각해보니 중간에 스위치가 없어서 ㅋㅋㅋㅋㅋ 저 설정은 불가능하다!! ㅋㅋㅋ
일단 아쉬운대로 아래와 같이 설정 ㅋㅋ
JunOS1 - JunOS3 BDR / DR
JunOS1 - JunOS2 DR / DRother
JunOS2 - JunOS3 DRother / DR


설정은 아래와 같이하면 되며, 0~255 까지 이다(Cisco랑 동일 ㅋ)
0으로 설정하면 DR/BDR선출에 참여하지 않으므로 DRother가 된다 :)
show ospf nei로 설정된 네이버들의 Priority 확인가능 :)

2. Area 1
JunOS-1과 JunOs-4사이의 설정.
OSPF Network Type : Point to Point
http://www.juniper.net/documentation/en_US/junos12.2/topics/topic-map/ospf-configuring-interfaces.html#jd0e220
OSPF Timer Config : Hello 2, Dead 8
http://www.juniper.net/documentation/en_US/junos12.2/topics/topic-map/ospf-timers.html#jd0e297

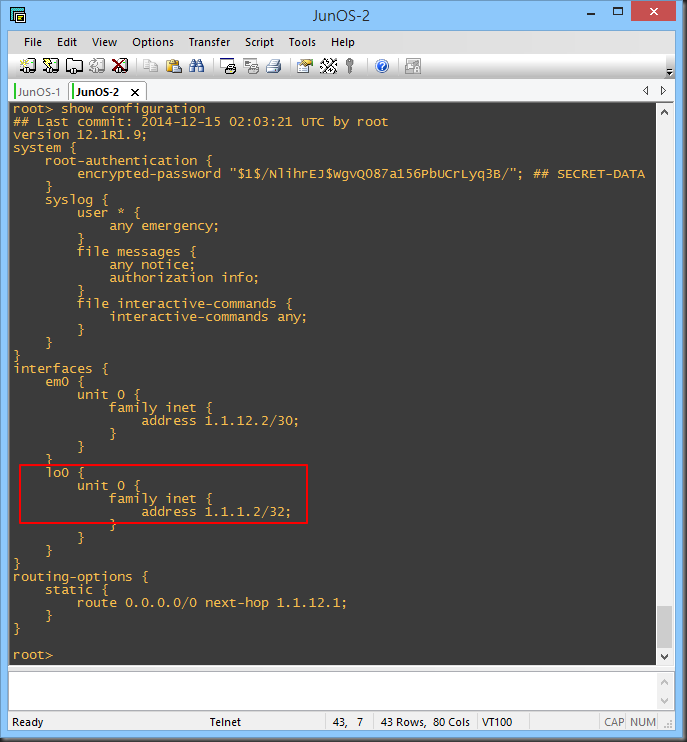
빨간 네모를 확인하면 네트워크 타입과 타이머 수정된 것을 볼수있음!

설정 값 ㅎㅎ
3. Area 2
JunOS-2와 JunOS-5사이의 설정.
OSPF Network Type : Point to Point
http://www.juniper.net/documentation/en_US/junos12.2/topics/topic-map/ospf-configuring-interfaces.html#jd0e220
OSPF Authentication : MD5
http://www.juniper.net/documentation/en_US/junos12.2/topics/topic-map/ospf-authentication.html
BFD for OSPF
http://www.juniper.net/documentation/en_US/junos12.2/topics/topic-map/ospf-bfd.html

여담으로 BFD는 Timer조절과 같이 Fault Detect시 빠른 Convergence를 위해 사용되며,
매우!! 빠르다 ㅎㅎ 자세한 내용은 위에 링크 참조 :)

설정 내용 참고~
4. Area 3
JunOS-3와 JunOS-7사이의 설정.
OSPF Network Type : Point to Point
http://www.juniper.net/documentation/en_US/junos12.2/topics/topic-map/ospf-configuring-interfaces.html#jd0e220
OSPF Stub Area
http://www.juniper.net/documentation/en_US/junos12.2/topics/topic-map/ospf-stub-and-not-so-stubby-areas.html
우선 Stub Area와 다음Task인 NSSA(Not So Stubby Area)에 대한 이해가 필요할 듯하다.
사실 위의 링크를 보면 설명이 있긴 하지만, 간략하게 적자면 Routing Table이 많아 질 수 있는 Network 안에서
종단 Area에 속한 Router들의 Routing Table optimize 및 Performance Stress를 줄여 주기 위해 사용 하는 것으로
알고 있습니다.
또, 이것에 따른 OSPF LSA type, 그리고 그에 다른 제약 등에 대해서는 아래 링크를 한 번 읽어 보시는 것도 대략적인
이해를 도울 듯 합니다.
http://cafe.naver.com/neteg/59264 - 네트워크 전문가 따라잡기 카페, 크레이지 우(저희 KrDAG의 옹님중 1인!)
간략히 볼 수 있는 부분만 스샷해서 남겨두자면~


위 표를 참고하면 될 듯 하다. 물론 Cisco자료임 ㅋㅋ

대략 위와 같이 많은? 수의 Routing Table이 설정을 완료하면~

이렇게 최적화 된다@_@.
Total Routing Table Count : 16 to 5
OSPF Routing Table Count : 13 to 2

설정 부분 ㅎㅎㅎ.
5. Area 4
JunOS-3와 JunOS-8사이의 설정.
OSPF Network Type : Point to Point
http://www.juniper.net/documentation/en_US/junos12.2/topics/topic-map/ospf-configuring-interfaces.html#jd0e220
OSPF Stub Area
http://www.juniper.net/documentation/en_US/junos12.2/topics/topic-map/ospf-stub-and-not-so-stubby-areas.html
(Option) Redistributing Static Routes into OSPF
http://www.juniper.net/documentation/en_US/junos12.2/topics/topic-map/ospf-routing-policy.html#jd0e687
위의 글을 잘 읽어 보셨다면 Stub Area와 다르게 NSSA는 종단 Area뒤에 다른 Network가 연결될 수 있다는 걸 눈치 채셨을 겁니다.
그래서 랩 구성 역시 저렇게 JunOS-9가 달려있지요@_@..
자아 빠르게 이어 갑시다.

JunOS-8에서 설정확인 시 Routing Table이 default만 있는 게 확인 되고, 뒷 단으로 1.1.1.9가 있다는 걸 알 수 있다.

없었던 1.1.1.9의 Routing Table도 재분배(Redistribute)를 통해 보이게 된다 물론 ping 도 성공 ㅋㅋ

6. Area5
JunOS-5와 JunOS-6사이의 설정.
OSPF Network Type : Point to Point
http://www.juniper.net/documentation/en_US/junos12.2/topics/topic-map/ospf-configuring-interfaces.html#jd0e220
OSPF Virtual Links
http://www.juniper.net/documentation/en_US/junos12.2/topics/topic-map/ospf-virtual-link.html
OSPF의..입양 프로세스- _-;;? Virtual Link이다.
일반적으로 Sham Link와 헷갈리기 쉬운데.. 본인도 매번 헷갈린다 ㅋㅋㅋ
일단 머리 속으로 sham link는 서로 다른 Area0를 이어 주는 용도로 알고 있다(MPLS over OSPF와 같은? ㅋ)
그리고 Virtual Link는 일반 Area는 backbone area(area 0)에 붙어 있어야 한다~ 라는 ospf design recommends를 무시하고 설정한 일반Area를 Area 0 에 붙여 주기 위한 가상화 링크이다.

위 그림에서 처럼 Area 0 에 붙어있어야 할 Area 3이 Area2를 사이 에 두고 붙어있어 IA정보만 가지게 되는 경우가 발생하며, 다른 전체 Network가의 통신이 안되게 된다.
예를 들어 현재 Lab을 보면,

모든 결로정보를 다 가지고 있는 JunOS-5과 달리,
Neighbor를 맺었음에도 Area 5의 정보만 가지고 있는 JunOS-6이 확인 된다.

이러한 문제를 해결하기 위한 기술이 "Virtual Links"이다 못난 자식 Area0에 입양시키는...
뭐 그런거다..( - -)ㅋㅋ
어서 설정해 보자~
설정 Commands는 아래와 같다.
set protocols ospf area 0.0.0.0 virtual-link neighbor-id [설정장비의 상대방id] transit-area [transit구간으로 쓰이는 area]

이렇게 설정해주면 드디어 JunOS-6에서도 통신이 가능해 진다 :)

짜잔~ ㅎㅎㅎ
일단 이걸로 머리 속에 있는? 써먹을 수 있는 설정은 대 해본 듯하다.
다음에는 경로 조절이나 Routing Table Summary를 해볼까 함둥.
OSPF가 생각보다...아니 예상대로 할게 많았지만...한 개의 과제를 털어낸 기분에 상콤하네요 :)
수고하셨습니다~

Juniper - Ospf Configuration Part - Iii >>>>> Download Now
답글삭제>>>>> Download Full
Juniper - Ospf Configuration Part - Iii >>>>> Download LINK
>>>>> Download Now
Juniper - Ospf Configuration Part - Iii >>>>> Download Full
>>>>> Download LINK WC