Juniper - OSPF Configuration Part - II
Part - I에 이어서 Part - II 입니다~
Part - I에서 물리적인 Topology를 완성했으니 이제 그 위에 OSPF를 올려봅시다 :)

일단 위에 그림에 맞게 Multi-Area OSPF설정을 할건데요~
OSPF의 Area를 혹시라도 전혀 모르신다면 아래 url을 훑어 보고 오시면 좋습니다~
http://www.juniper.net/documentation/en_US/junos12.2/topics/topic-map/ospf-areas.html
그리고 추가적으로 Routing Protocol들은 Neighbor를 맺을 때 처음 Hello packet을 보내는 Interface의 IP를 Router-id로
정하게 되어 향후에 운영할 때 database나 기타 정보를 볼 때 어려움이 따릅니다.
이 부분을 피하기?위해 Router-id는 Management Interface (Loopback Interface)의 IP로 지정해주는 습관을 들이면 좋습니다.
Juniper의 경우 routing-options에서 설정이 가능하며 설정은 아래와 같습니다.
set routing-options router-id [IP]
자아~ 위 구성도 대로 쭈~욱 설정해 줍시다! :)
JunOS-1
set routing-options router-id 1.1.1.1
set protocols ospf area 0.0.0.0 interface em0
set protocols ospf area 0.0.0.0 interface em1
set protocols ospf area 0.0.0.1 interface em2
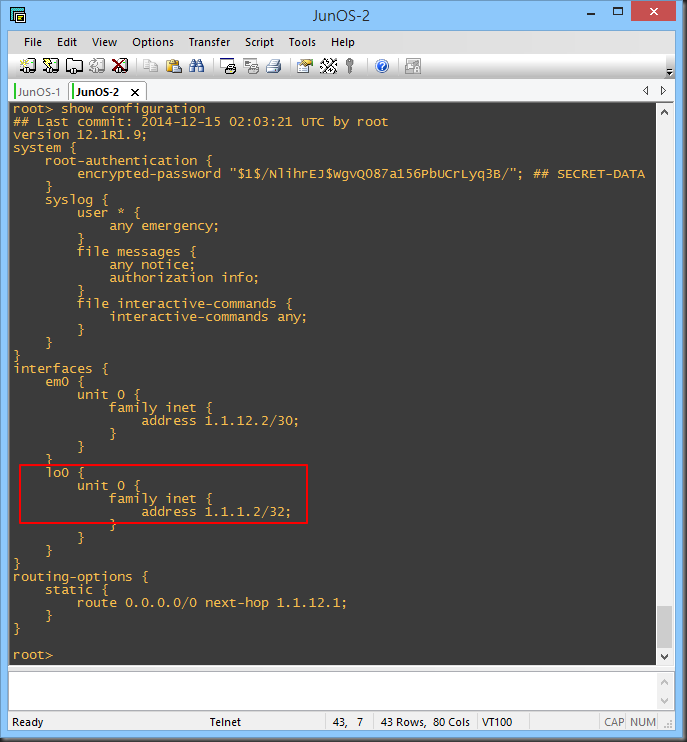
set protocols ospf area 0.0.0.0 interface lo0
commit
JunOS-2
set routing-options router-id 1.1.1.2
set protocols ospf area 0.0.0.0 interface em0
set protocols ospf area 0.0.0.0 interface em1
set protocols ospf area 0.0.0.2 interface em2
set protocols ospf area 0.0.0.0 interface lo0
commit
JunOS-3
set routing-options router-id 1.1.1.3
set protocols ospf area 0.0.0.0 interface em0
set protocols ospf area 0.0.0.0 interface em1
set protocols ospf area 0.0.0.3 interface em2
set protocols ospf area 0.0.0.4 interface em3
set protocols ospf area 0.0.0.0 interface lo0
commit
JunOS-4
set routing-options router-id 1.1.1.4
set protocols ospf area 0.0.0.1 interface em0
set protocols ospf area 0.0.0.1 interface lo0
commit
JunOS-5
set routing-options router-id 1.1.1.5
set protocols ospf area 0.0.0.2 interface em0
set protocols ospf area 0.0.0.5 interface em1
set protocols ospf area 0.0.0.2 interface lo0
commit
JunOS-6
set routing-options router-id 1.1.1.6
set protocols ospf area 0.0.0.5 interface em0
set protocols ospf area 0.0.0.5 interface lo0
commit
JunOS-7
set routing-options router-id 1.1.1.7
set protocols ospf area 0.0.0.3 interface em0
set protocols ospf area 0.0.0.3 interface lo0
commit
JunOS-8
set routing-options router-id 1.1.1.8
set protocols ospf area 0.0.0.4 interface em0
set protocols ospf area 0.0.0.4 interface lo0
commit
설정이 완료 되었다면, 여러가지!! 확인 명령어로 OSPF 가 잘도는지 확인해본다 :)

일단 Area 정보와 DR/BDR, 그리고 Router-id를 확인할 수 있는 명령어는 이거다 "show ospf interface"
그리고 Routing Table을 확인해보자 :)

가장 쉽게 확인할 수 있는 건 각 Router들의 Loopback Interface가 보이느냐 마느냐 이다 :)
JunOS-1에서 확인을 했으니 자신의 Lo0를 제외한 모든 Router의 Lo Interface가 보여야 하지만!!
JunOS-9는 OSPF를 설정 안 했고, JunOS-6은 Backbone Area(Area 0)와 떨어져 있으니~
안 보이는 게 정상이다.(JunOS-6은 나중에 Virtual-link를 성정하면 보일 예정?! ㅋㅋ)
이제 Part - II는 마무리하고! Part - III에서 추가적인 설정을 만져보도록 할까 합니다 ㅋ


Casinos near me - Jtmhub
답글삭제You can find all sorts of casinos 파주 출장마사지 near me in 2021 창원 출장마사지 - try our casino guide to find The casinos listed above 충청남도 출장안마 are all approved 부산광역 출장안마 by the Malta Gaming 광주 출장안마 Authority and the
Juniper - Ospf Configuration Part - Ii >>>>> Download Now
답글삭제>>>>> Download Full
Juniper - Ospf Configuration Part - Ii >>>>> Download LINK
>>>>> Download Now
Juniper - Ospf Configuration Part - Ii >>>>> Download Full
>>>>> Download LINK DD
joya shoes 182o3ondyy938 joya sko danmark,joya sko norge,joya skor stockholm,joya cipő,joya zapatos,joya schoenen,joya scarpe,joya chaussures,joya schuhe,joya schuhe deutschland joya shoes 926g7tpjlh781
답글삭제